I’ve been interested in taking apart and making things for a long time now, and while I have only just gotten in to starting on projects, I have been fiddling for the last few years, but never really found the time or inspiration to work on a larger scale than I have been. I recently, as in the last year, found a wealth of inspiration, information, and not too much intimidation from the folks over at TESTED, whose ranks employ none other than my favorite Mythbuster, Adam Savage.
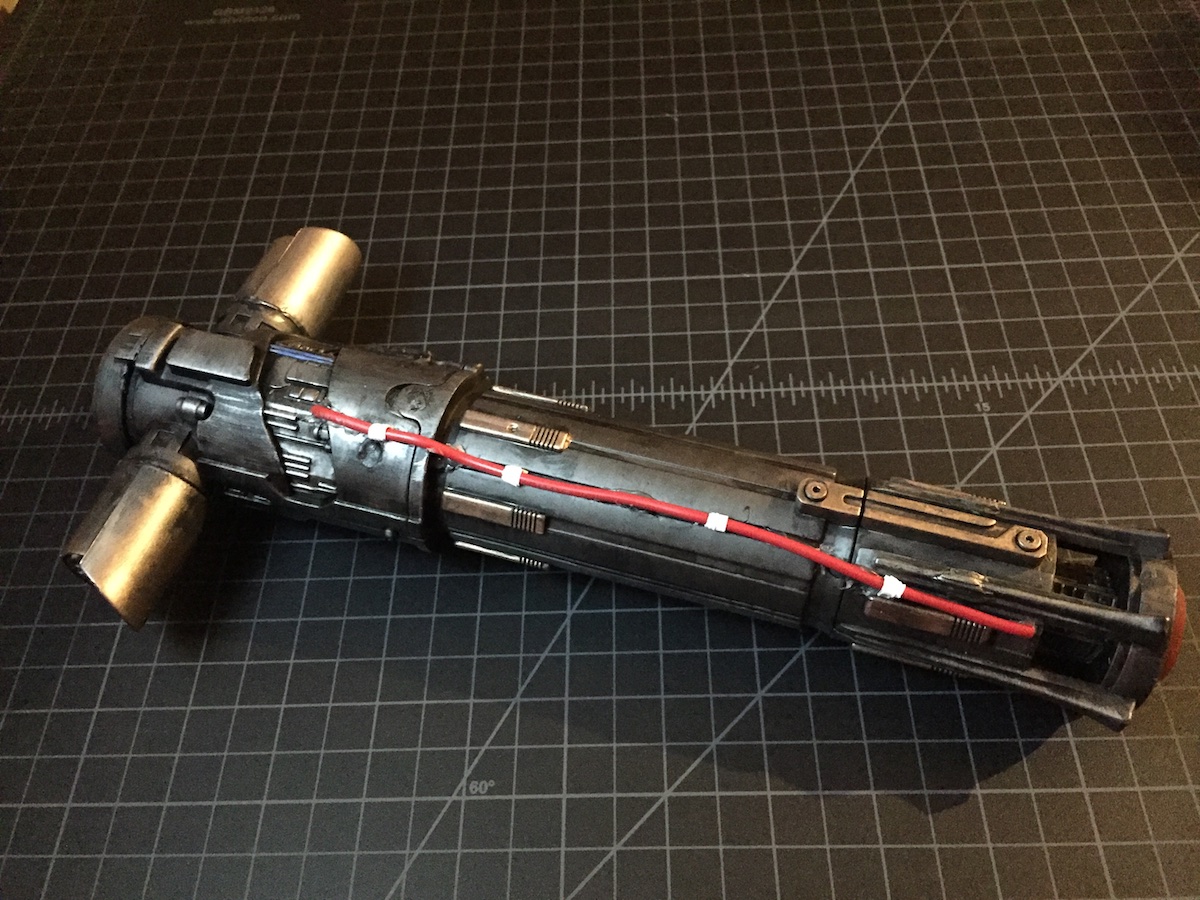
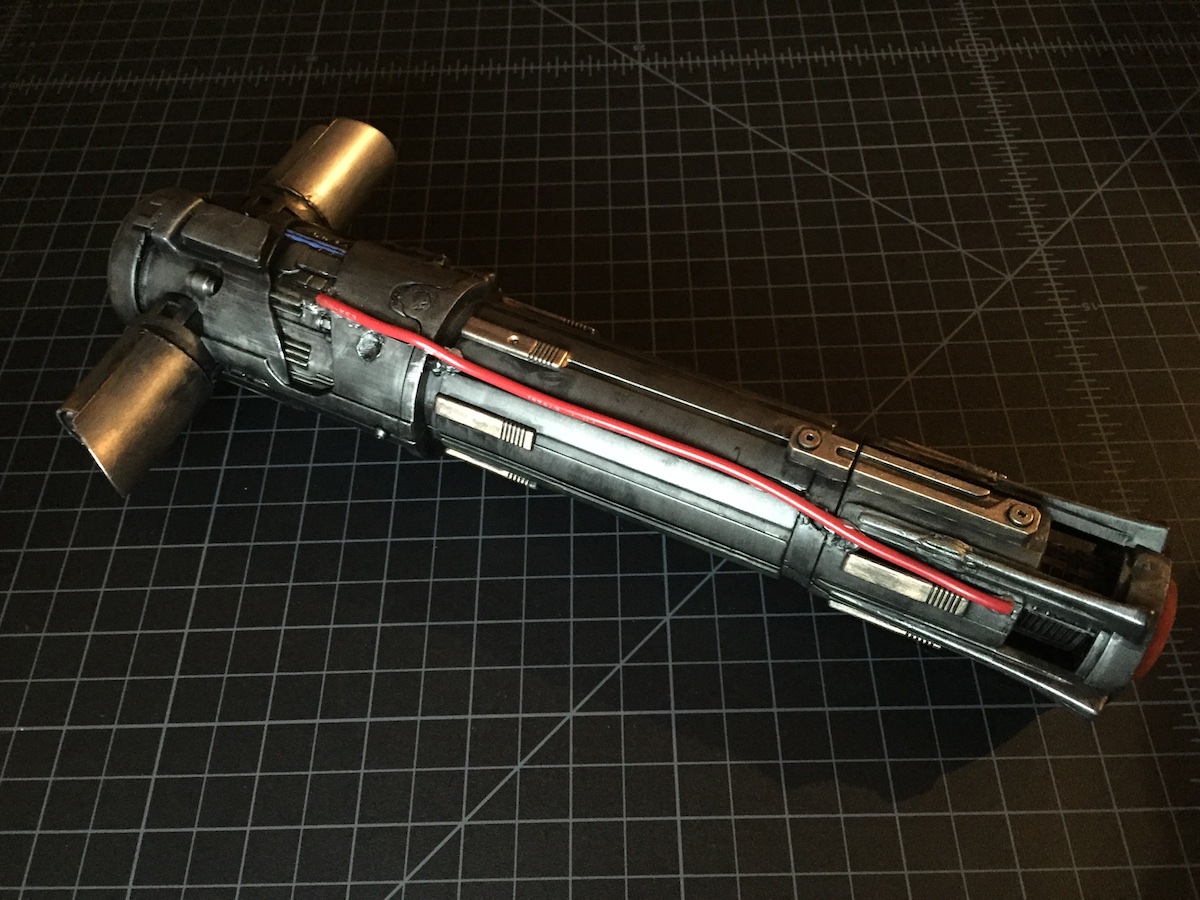
For my first ‘major’ project, I wanted to build a Kylo Ren lightsaber.
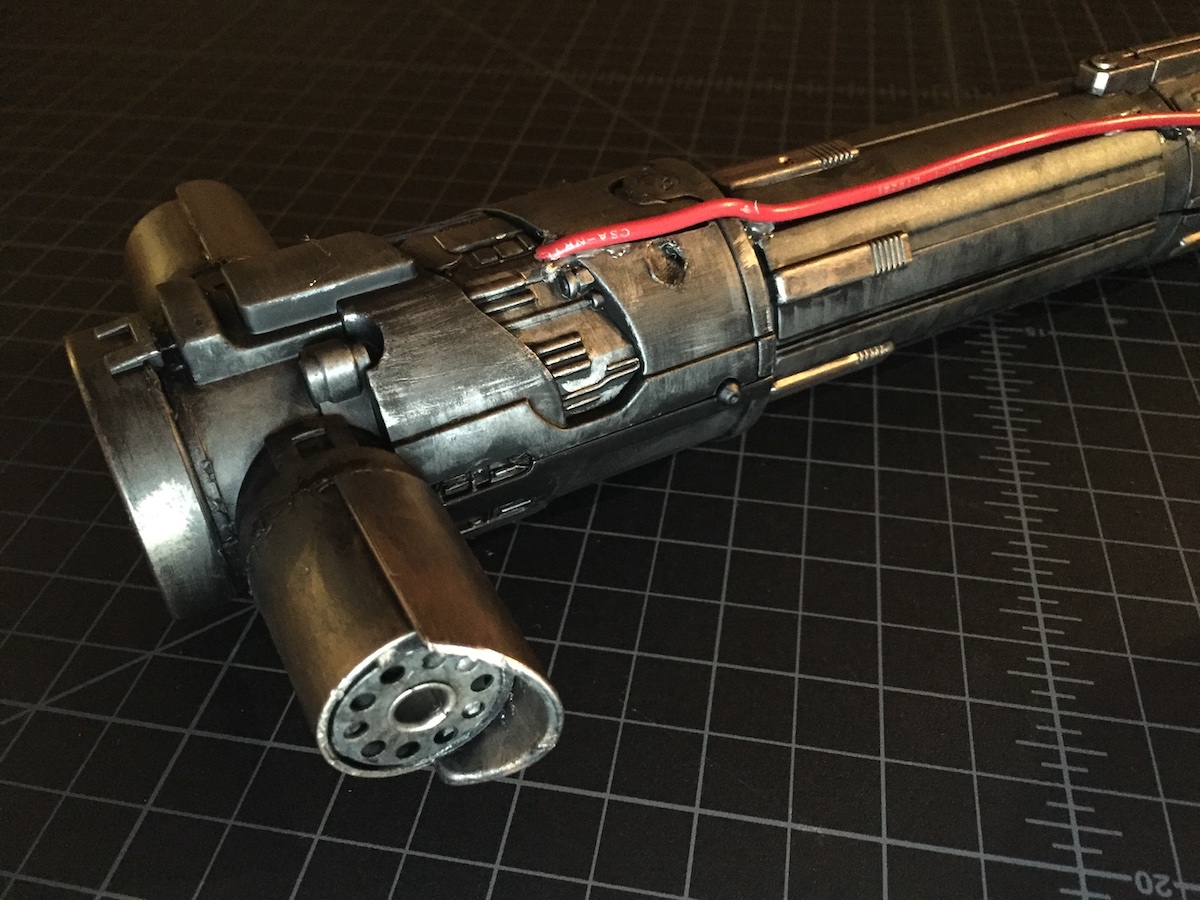
The above shot is as close to finished as I have taken it so far. I will likely do some weathering and minor improvements over the next few months as I see fit, or when something just starts bothering me about it.
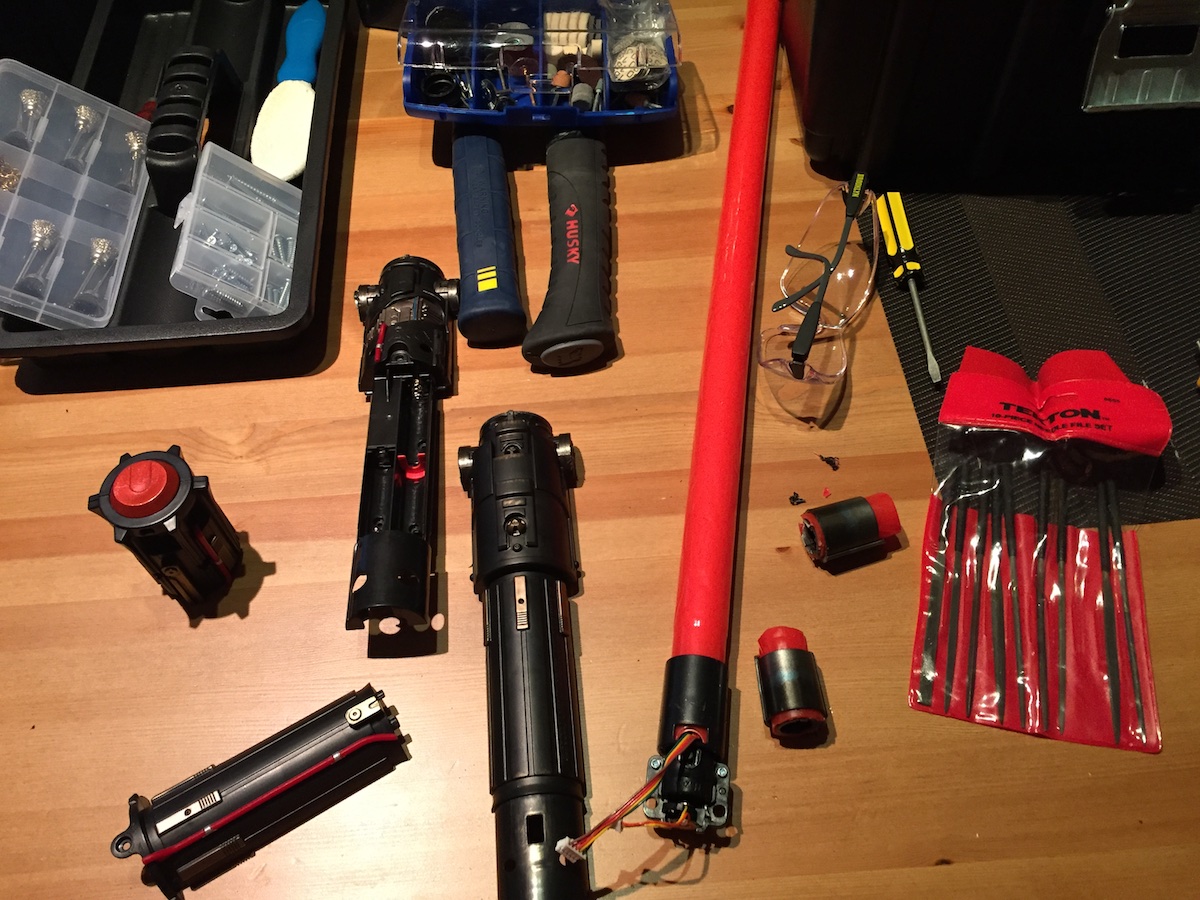
After deciding on the moderately priced Disney store exclusive ($42CDN) I started on my journey in a violent way. The majority of the piece is held together with screws, however a large portion of the top half of it is hot-glued together, which meant that I had to get creative in taking it apart without snapping anything.
I used my dremel and a plastic cutting disc to separate the cross-guards as they had been installed incredibly tight on the red ‘saber’ part of the cross ‘blade’. I laid everything out nicely to get an idea of what I was going to do with everything. I was going to use the whet-stone to add a bit of weight to the hilt after sawing off the battery compartment, but a colleague suggested I get some CRAFT MAGNETS and stick them in there instead. That worked incredibly well, and the general magnetism of the piece is quite low.
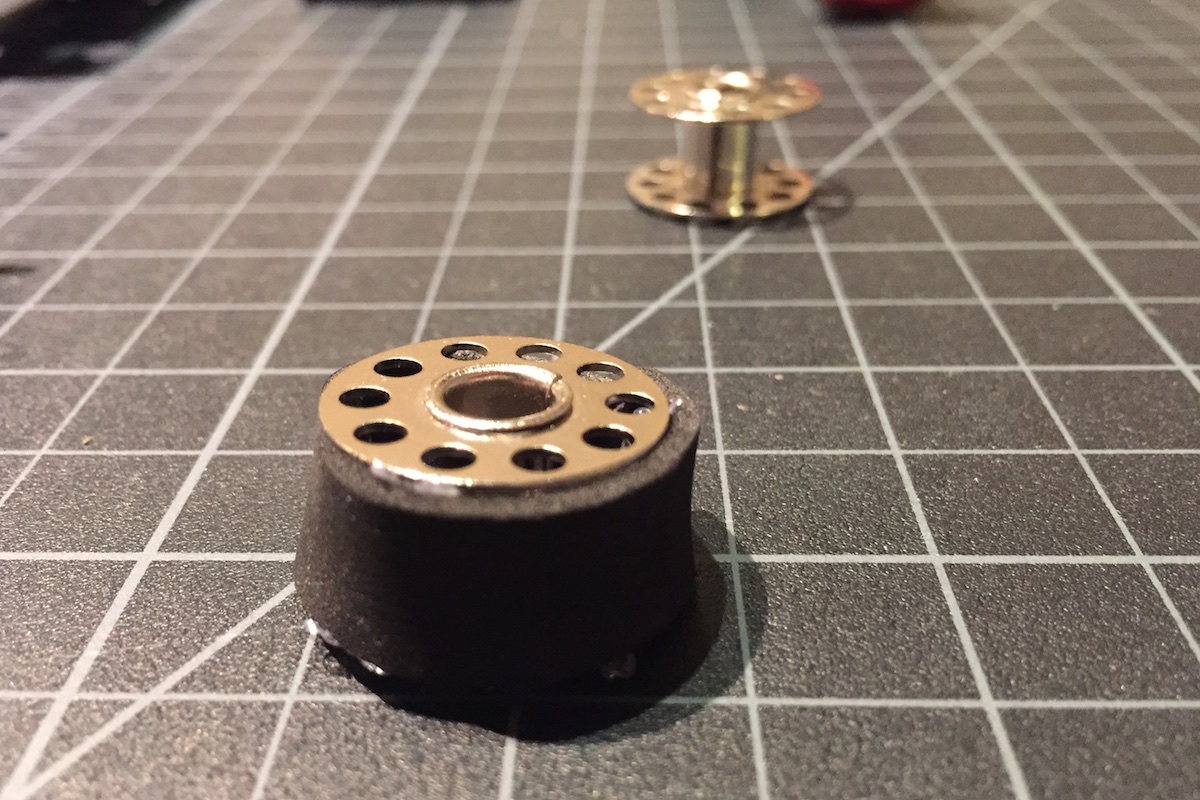
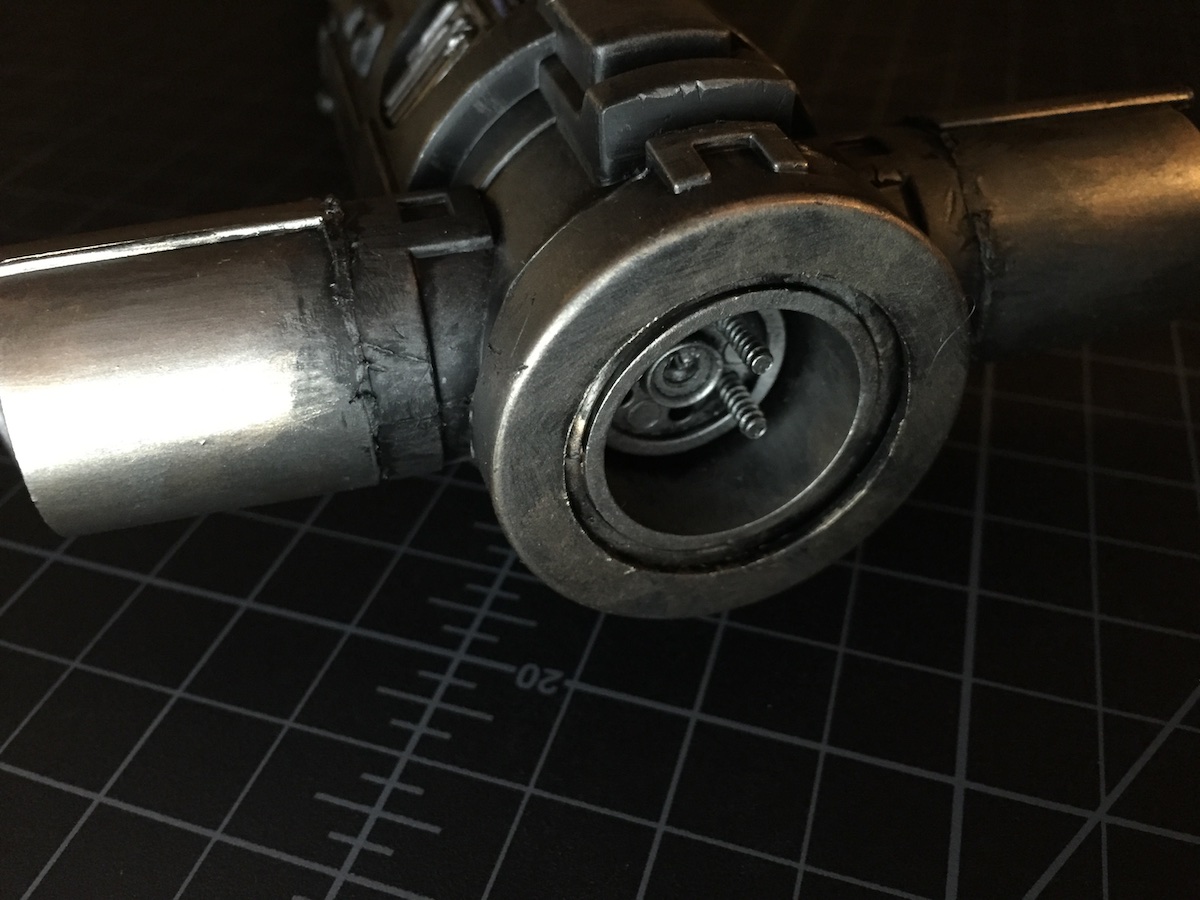
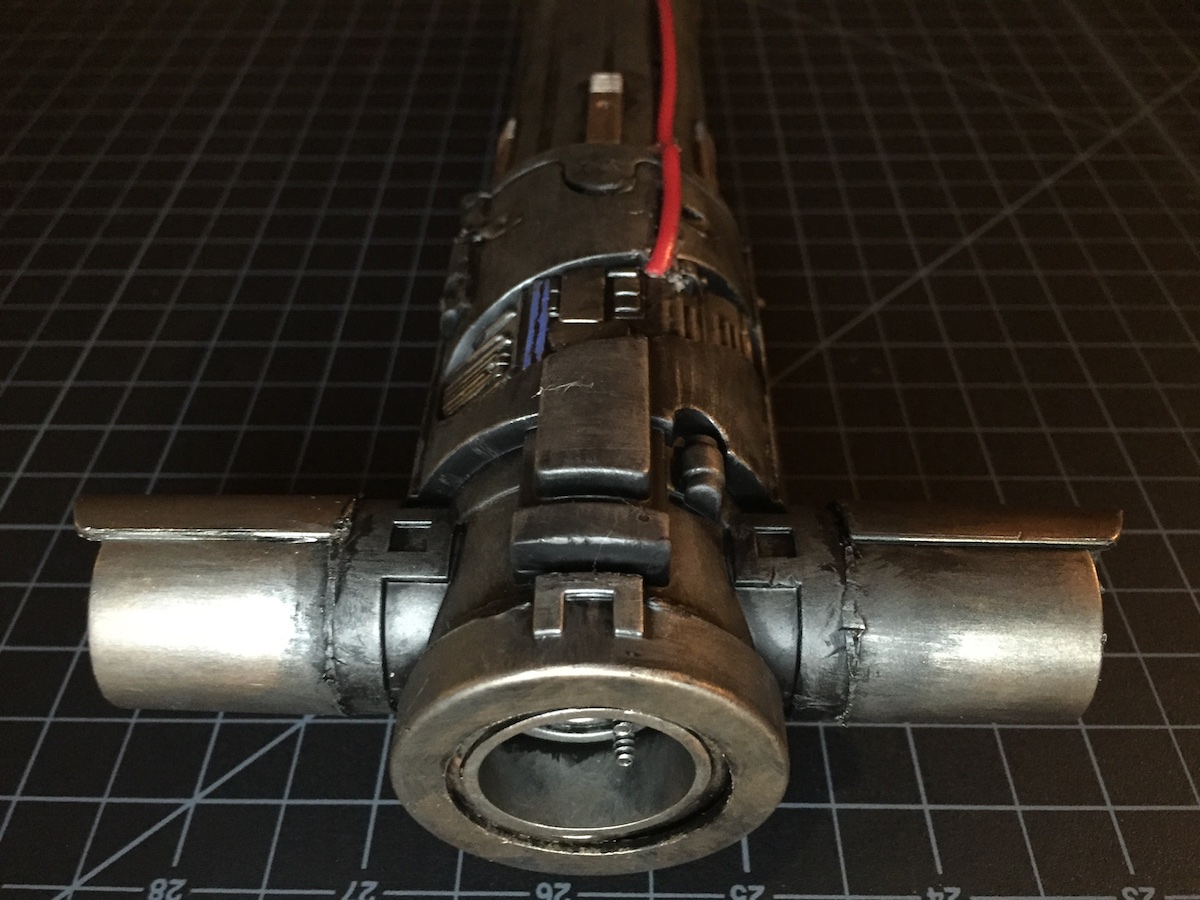
I bought this sewing bobbin in a package of four at the dollar store to originally use for the top blade burner, but after a test fit, it was way too small. It did however, work quite well as the side blade burners.
I really neglected to take more photos during construction, and I definitely plan to make at least one more in the next few months and I plan to document the construction of that one more for anyone else who is interested in making their own. I would however like to sell these for time and parts. Anyone can let me know if they want one done up for them instead of building their own. I can definitely be reasonable.
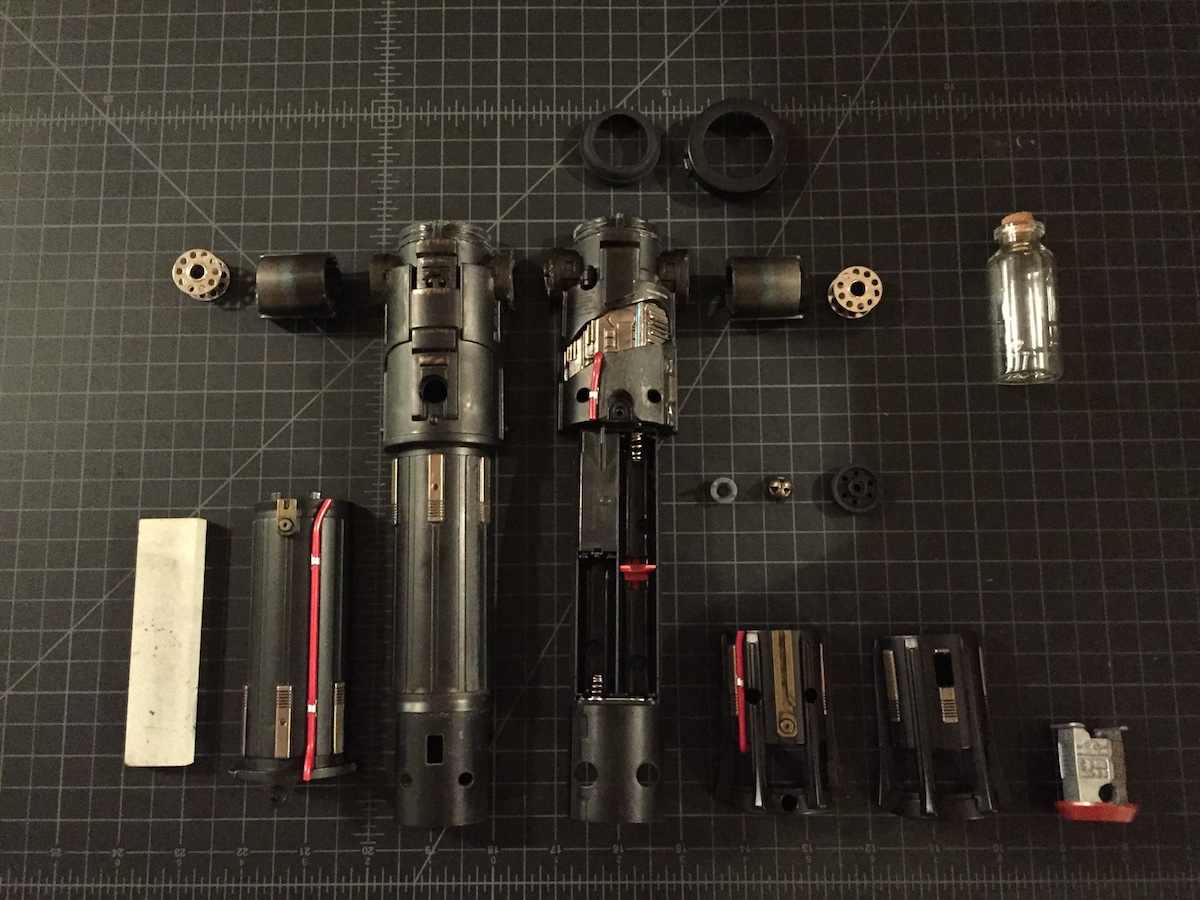
This shot shows a mostly finished product with the bobbins visible. I want to practice some heat burnishing effects with painting and give them a bit of a burned look.
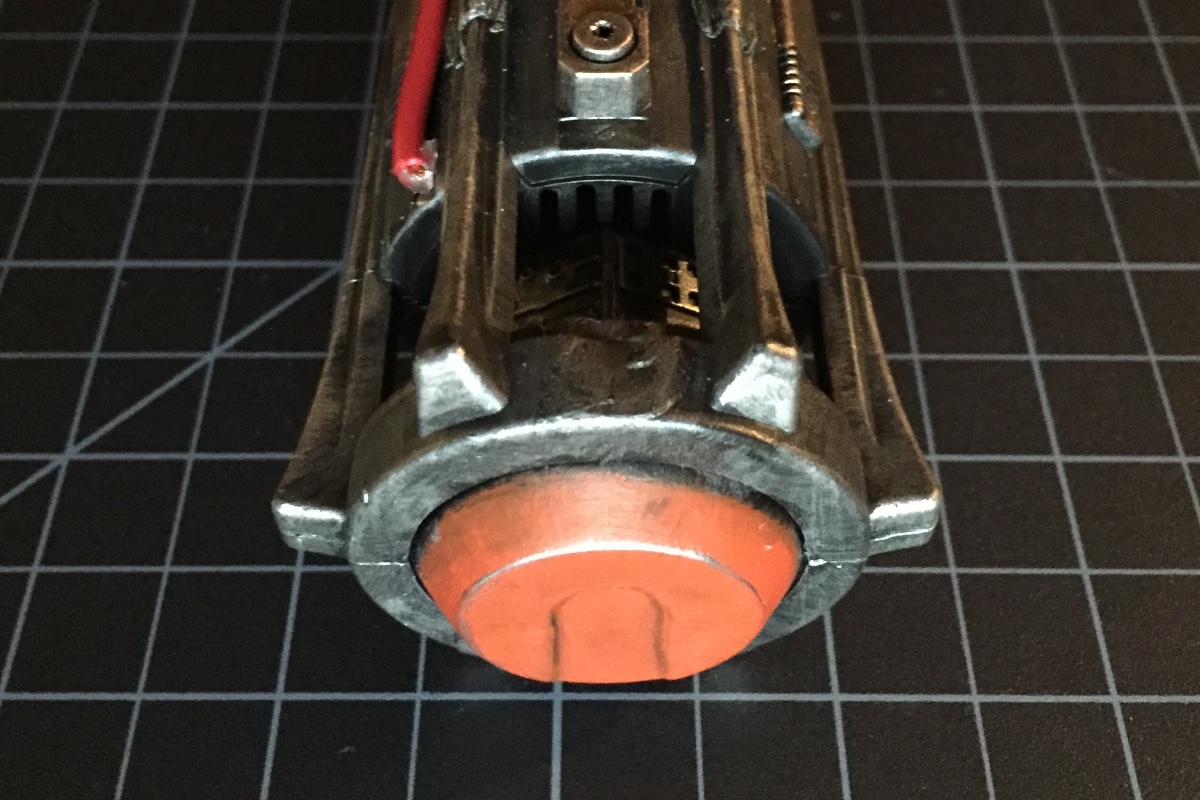
I mounted the top random assembly thing I made on a magnet as it would have been sunk too far into the roughly one inch metal tube I used to set it in (again, adding some weight)
I grabbed some 18guage wire from a local shoppe and used this in place of the ugly plastic garbage that was originally in its place. It would have cost Disney probably the same amount of money to do this in the first place when you take into consideration the cost of the plastic mold they had to make. Let actual labour time though, so the math could be skewed.
I used Games Workshop matte spray paint and potted paints to give the dull plastic some life, and make it look like the thing is made of metal.
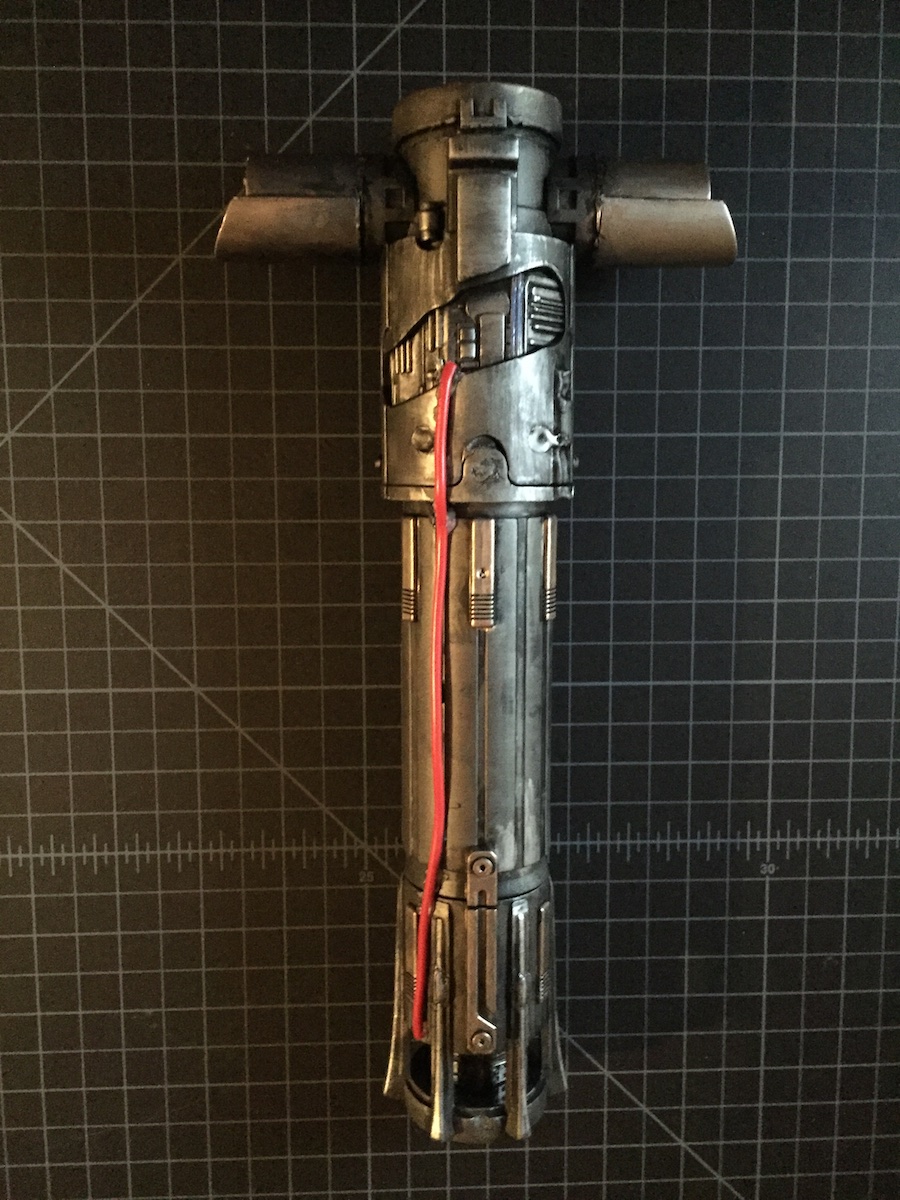
As of the writing of this post, the last thing I added were four white clips to mimic the original. These are garbage bag twist ties cut to roughly one inch, folded over, and friction fit under the red wire. I may clue them down in the future, but for the time being while the piece is on my shelf, they are just fine.
The last thing I have to say, is that all together, this is about a one day build with painting, dismantling and rebuild, so even though it took me about three weeks of spare time, I will pay homage to Adam’s one day builds with the next one. (Watch those on the TESTED channel!
Copyright 2016 Scott Alexander